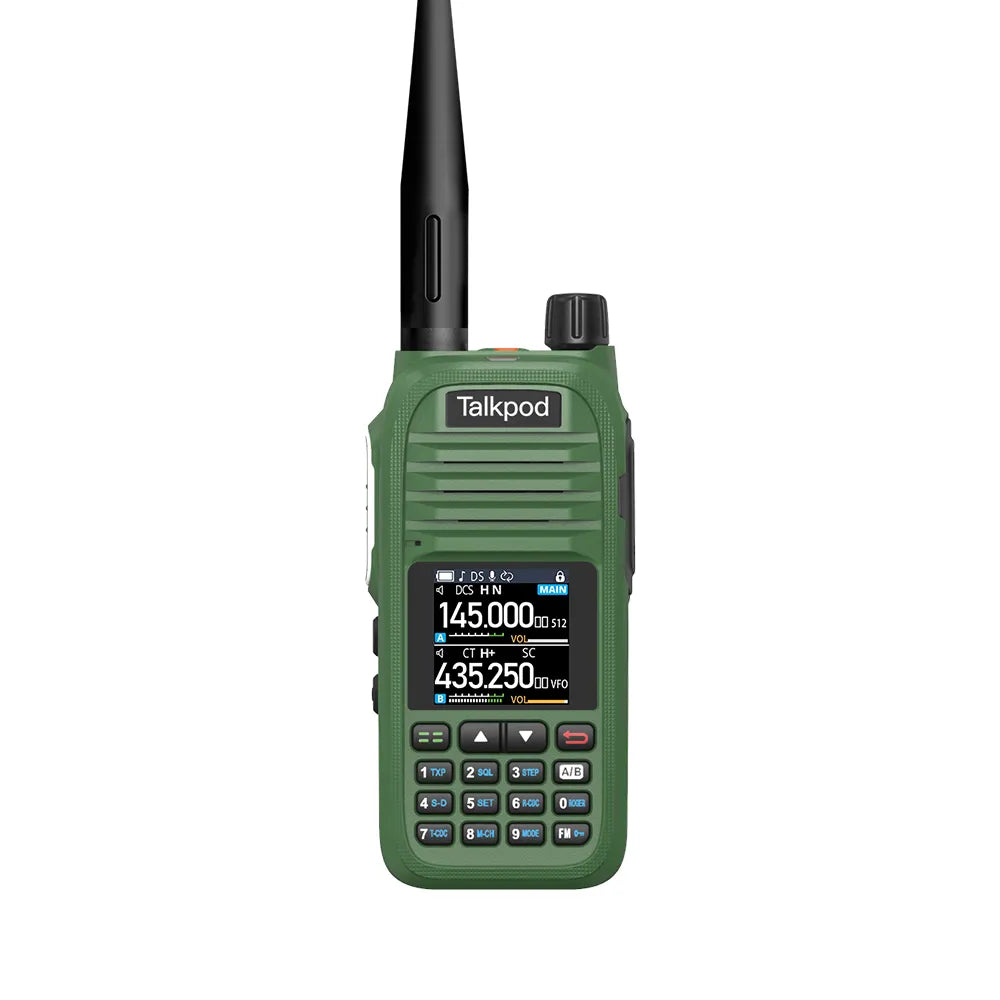
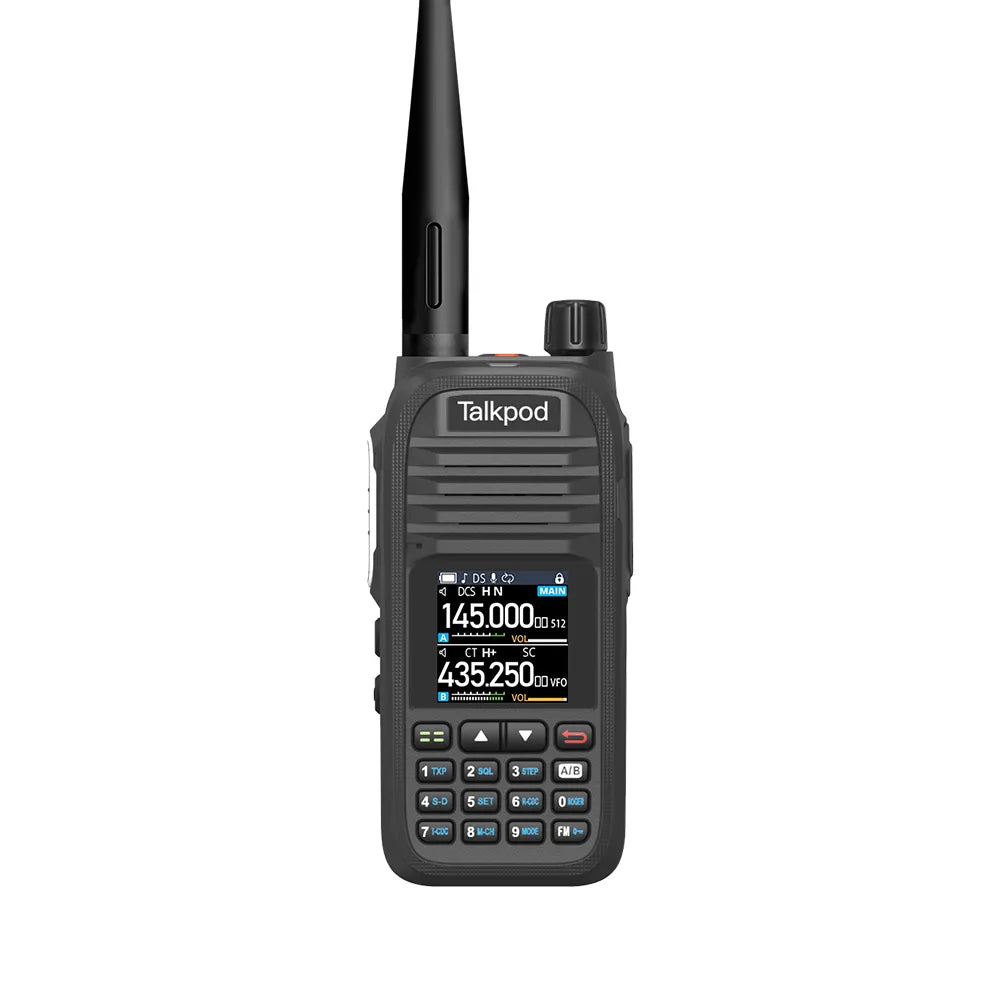
Greetings from Talkpod! This is Roy speaking. It has come to our attention that some users of our Xuners UV37 and A37 devices have expressed a need to revert back to the original company logo after importing the A36 Plus image. We deeply sympathize with this inconvenience and have listened to your feedback. Consequently, we've devised an easy-to-follow guide to address this issue. So, let's get started!
Please note, if you wish to switch back to the original logo after importing the A36 Plus image, our website provides the company's logo in bmp file format for download and subsequent import. The download link can be found in the comments section below.
Step 1: Software Procurement To kick things off, you need to download two crucial software components: the 'USB Driver for TPC02 Programming Cable' and the 'A36plus EN Setup'. You can conveniently find their download links in the comments section below.
Step 2: USB Driver Installation The next phase involves installing the USB driver designed for the TPC02 Programming Cable. Please bear in mind, this software is compatible exclusively with Windows Systems. To initiate the installation, click the first button to start the update process, then click "Next" to authorize a system restart.
Step 3: Configuring the Communication Port Upon your computer's reboot, insert the USB cable. The USB to COM port number can be located within the 'Ports' segment of the Device Manager, found under the 'System' attributes in your Control Panel. For illustration purposes, we'll use COM3 as a hypothetical example in this guide. The next step is to set your programming software's communication port to this USB to COM port number, thereby enabling your software to engage with the device via the USB data cable.
Remember: It's possible the USB cable could map to a COM port number beyond the COM2-COM4 range. In such cases, simply experiment with a different USB port.


Step 4: Setting up the A36plus EN Setup Subsequently, we'll proceed with the installation of the 'A36plus EN Setup'. Following the installation, a particular screen will present itself (insert screen description here).

Step 5: Incorporating the Image To round off, connect your radio device to your computer utilizing the USB cable we've provided. Then, access the 'tools' feature to import the image. Ensure your image aligns with the 128x128 bmp file specification. After the image is imported, allow the programming to conclude.
With the completion of these steps, you've triumphantly imported the A36 Plus image onto your device.

This guide is dedicated to assisting you, and we're always at your disposal to support your journey. Keep an eye out for more guides and tutorials from Talkpod! Feel free to get in touch if you encounter any issues or have any questions.
Find the firmware link HERE!: https://talkpodonline.com/pages/firmware-software
Find the company logo link HERE!: https://we.tl/t-h2Bu0kkM6z


Leave a comment
All comments are moderated before being published.
This site is protected by hCaptcha and the hCaptcha Privacy Policy and Terms of Service apply.