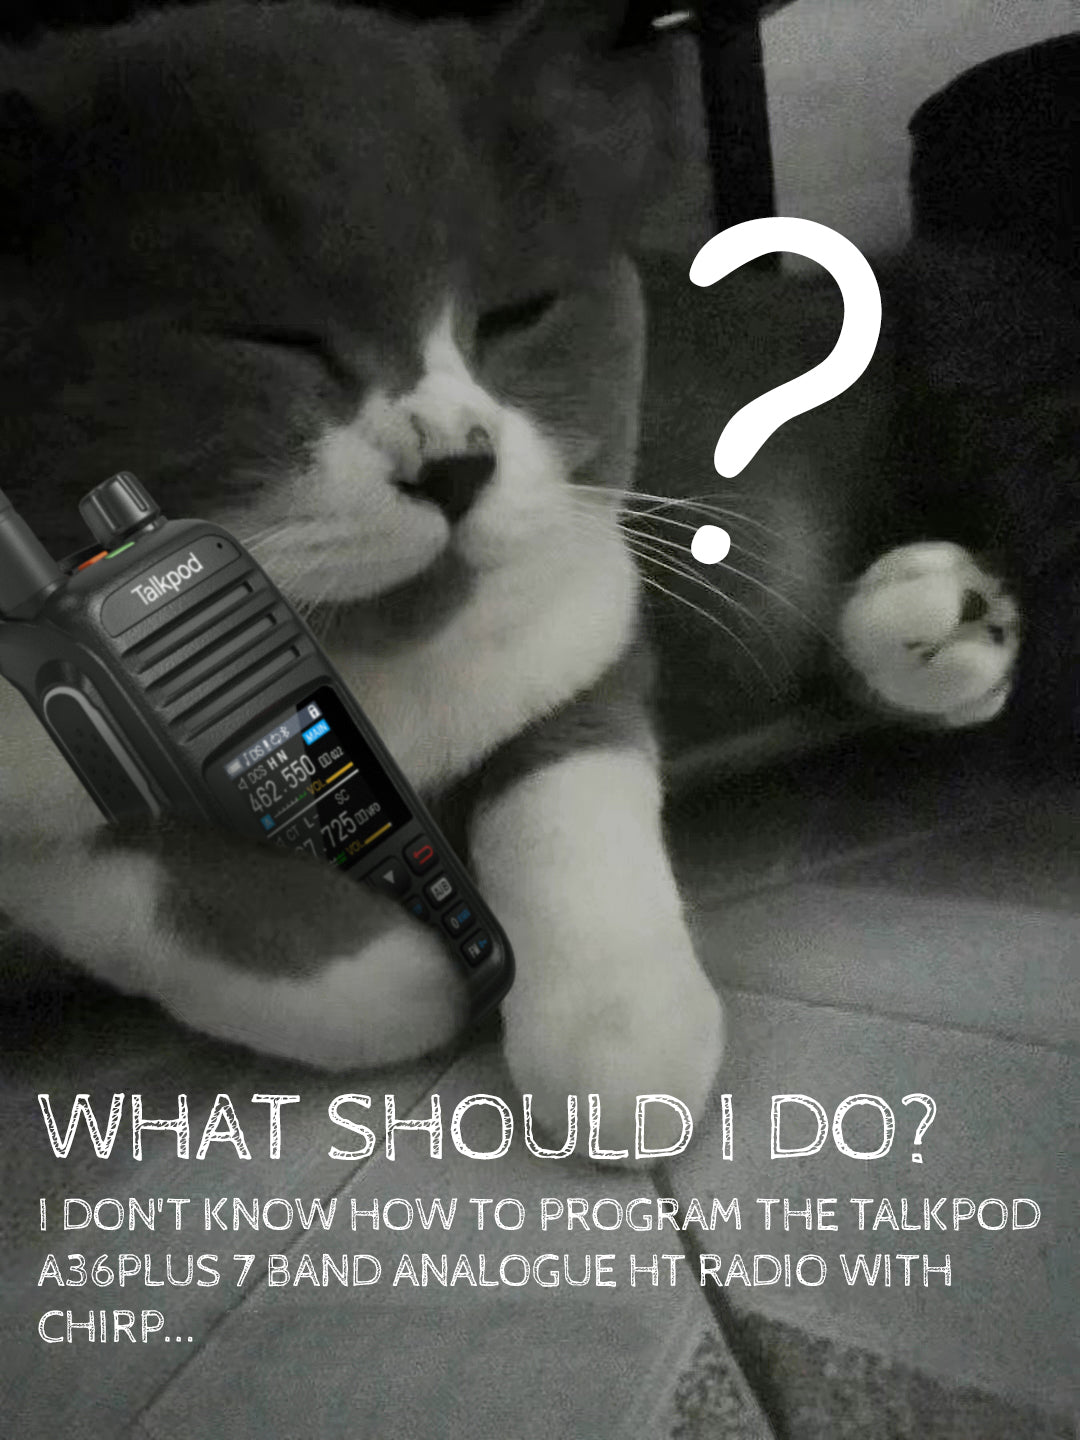
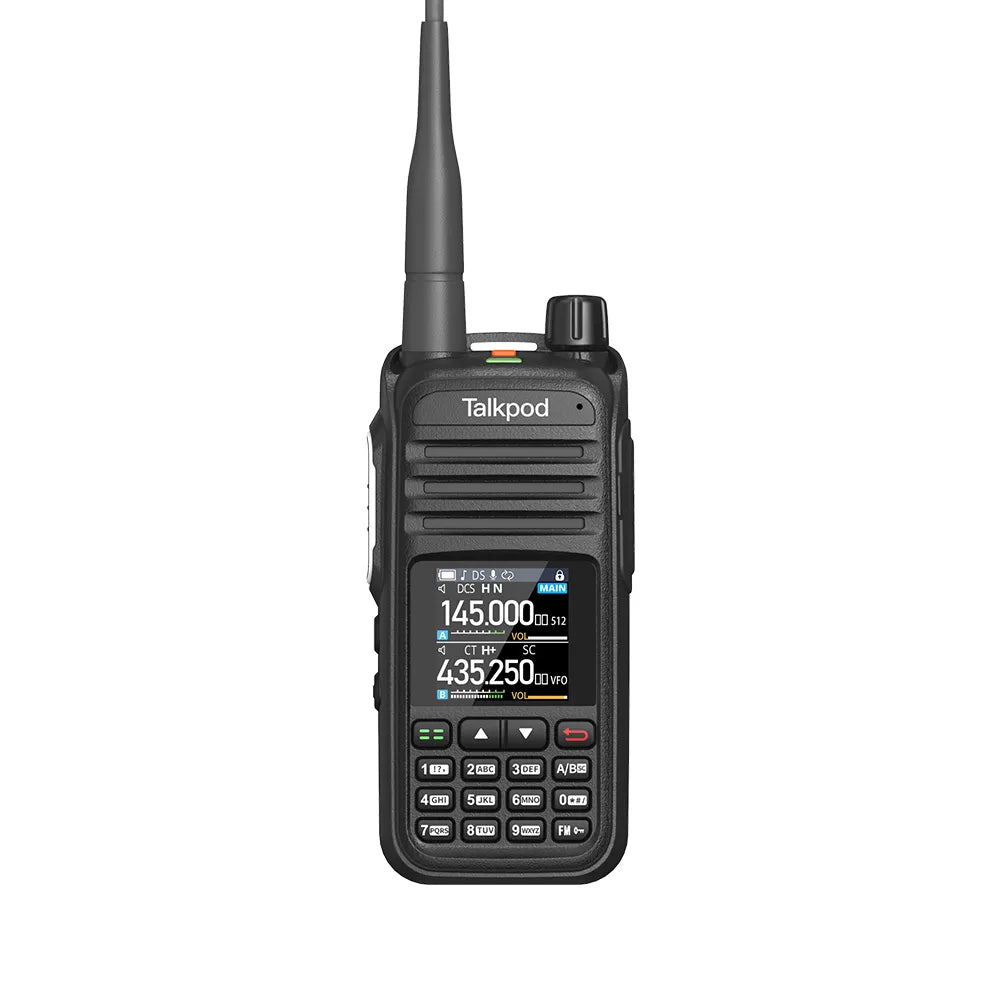
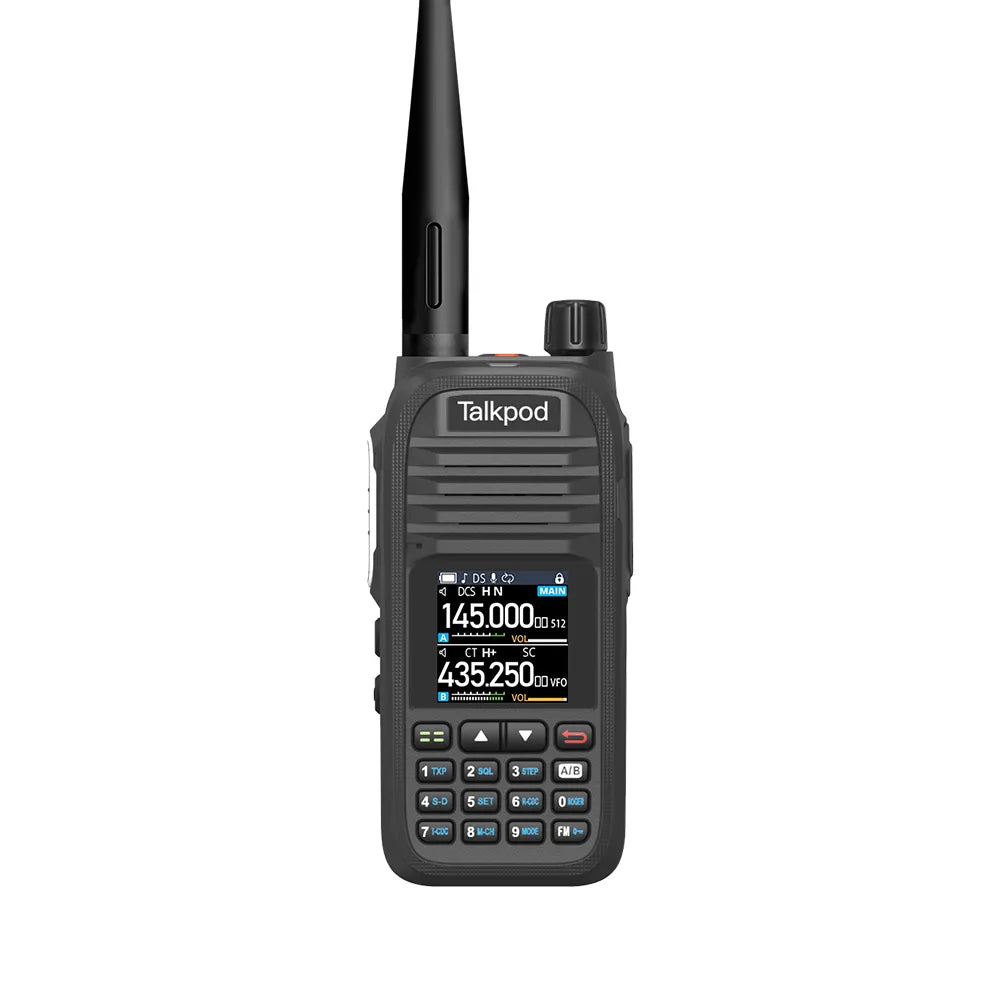
When it comes to programming your Talkpod A36 Plus, the Chirp software can be a real game-changer. This post will guide you through the process of setting up your radio using this handy application.
Step 1: Download and Install Chirp
Start by downloading the latest version of the Chirp application. After the download is complete, open the application on your computer.
Step 2: Select Your Device
Navigate to the "Radio" dropdown menu in the Chirp application. From the list of available devices, choose the Talkpod A36 Plus. This ensures that the software accurately communicates with your specific radio model.
Step 3: Connect Your Talkpod A36 Plus to Your Computer
For this step, you will need the appropriate cable for your radio. Typically, a CH 340 cable is compatible. Connect your radio to your computer using this cable.
Step 4: Configure Connection Parameters
In Chirp, make sure the USB Serial CH340 is set to the correct COM port. Then verify that the vendor is listed as Talkpod and the model is A36 Plus. After these details are confirmed, click "OK". Chirp is now ready to read data from your radio.
Step 5: Read Radio Data
Chirp will begin reading the current data from your Talkpod A36 Plus. This is an essential step, as it allows you to see what is already programmed and decide what changes you want to make.
Step 6: Edit Channels and Settings
Within Chirp, you can modify all the channels and associated settings to your liking. This includes enabling voice control (VOX), setting delays, turning on voice prompts, managing backlight settings, and more. The ability to customize these details allows for a personalized and efficient radio experience.
Step 7: Program the Radio
Once you've made all the desired edits and settings, it's time to program these into your radio. In Chirp, the first step is to download the existing data from your radio. After modifying it to your liking, upload it back to the radio. This writes your changes into the Talkpod A36 Plus.
Step 8: Data Copying (If Required)
Chirp also offers a handy feature if you have another radio with settings you'd like to duplicate. Simply open the other radio's Chirp window, copy the channel information, and paste it into your Talkpod A36 Plus window in Chirp.
By following these steps, you can quickly and efficiently program your Talkpod A36 Plus using Chirp. It's a straightforward process that allows for easy customization of your radio, ensuring it operates exactly how you want it to. Happy programming!
If you don't understand it, here is the video from HAM Fam.


Leave a comment
All comments are moderated before being published.
This site is protected by hCaptcha and the hCaptcha Privacy Policy and Terms of Service apply.