
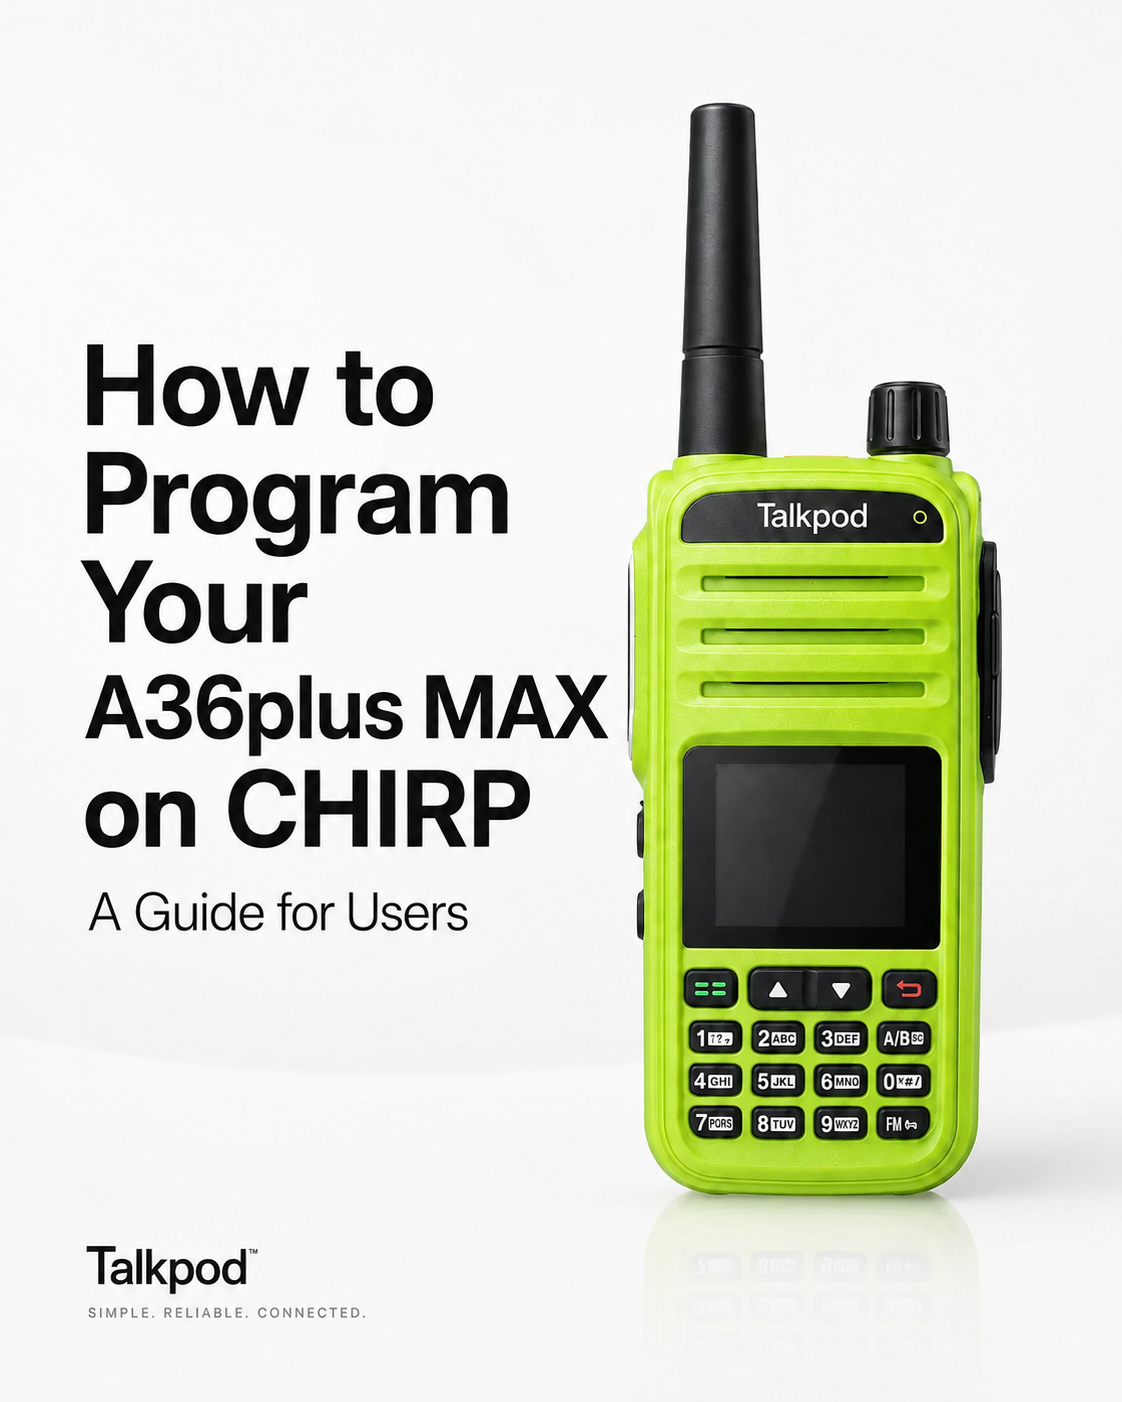
CHIRP is a popular radio programming application used by amateur radio operators to manage memory channels, repeater settings, CTCSS/DCS tones, channel names, power levels, and other commonly used radio parameters.
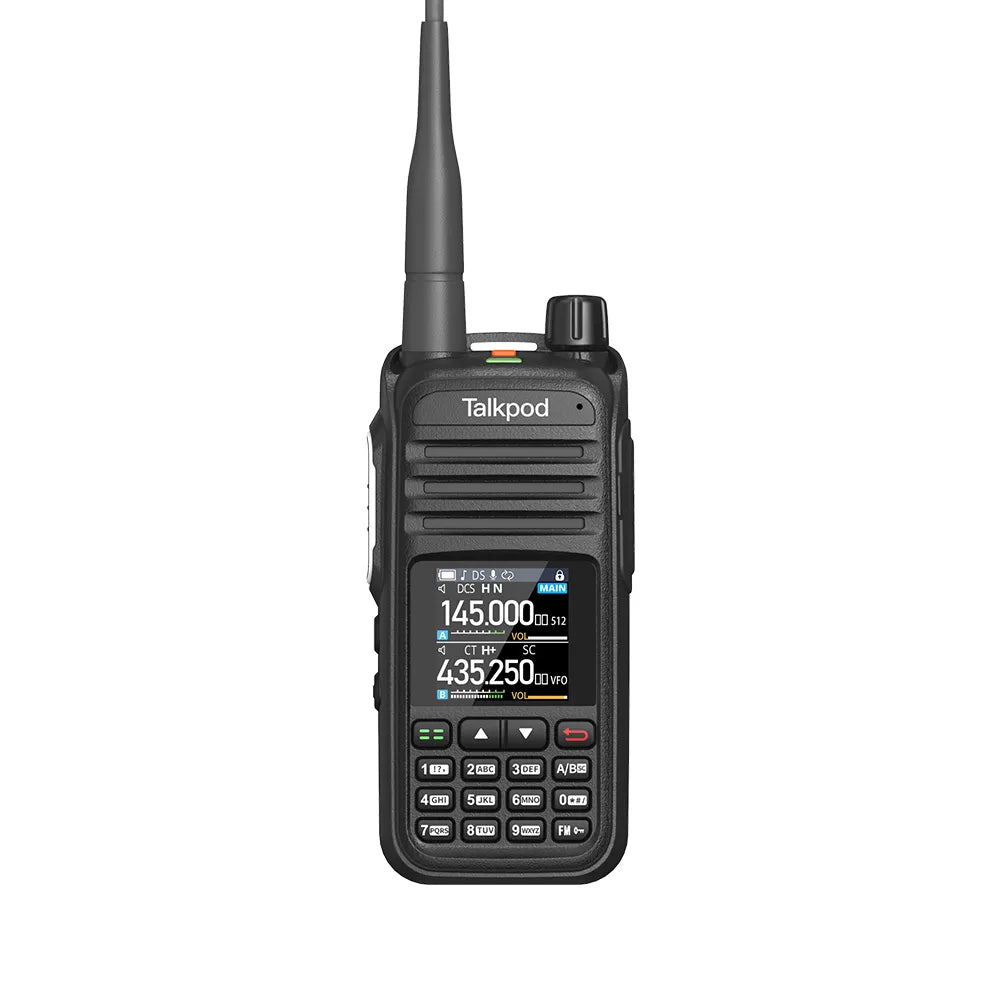
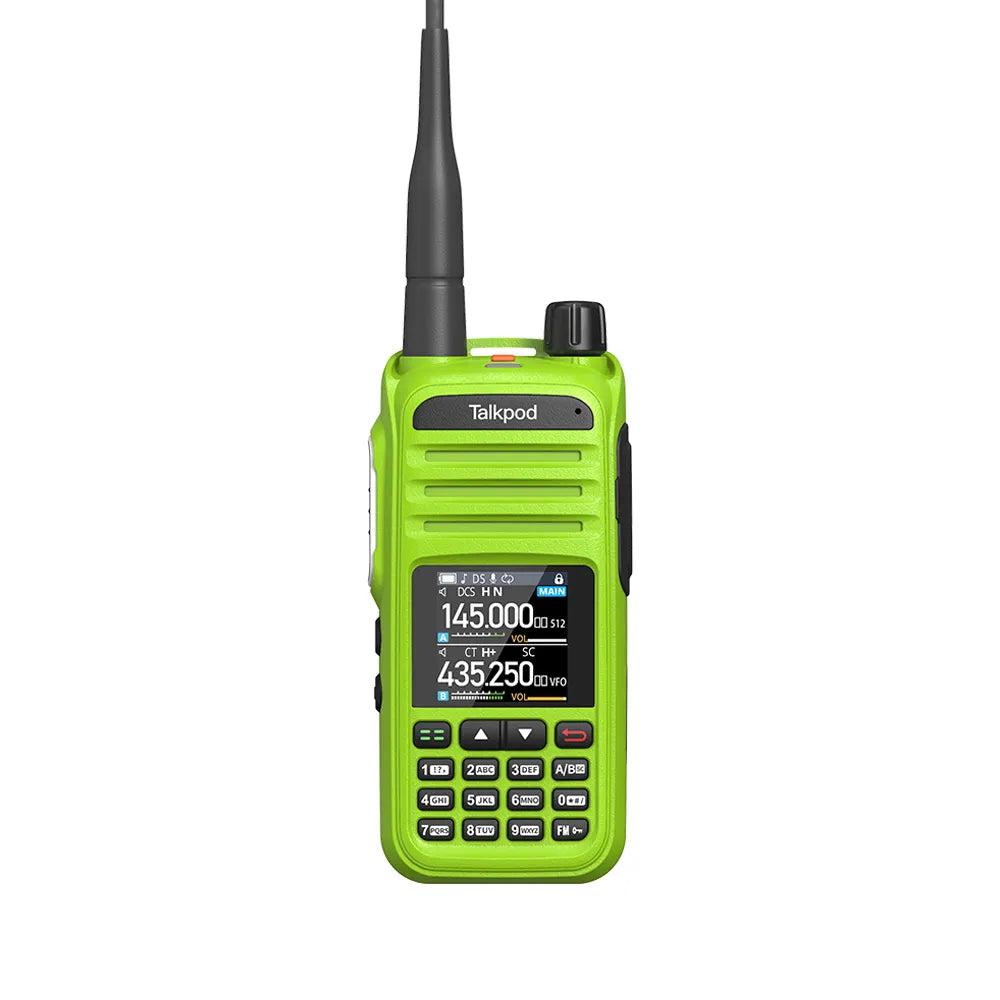
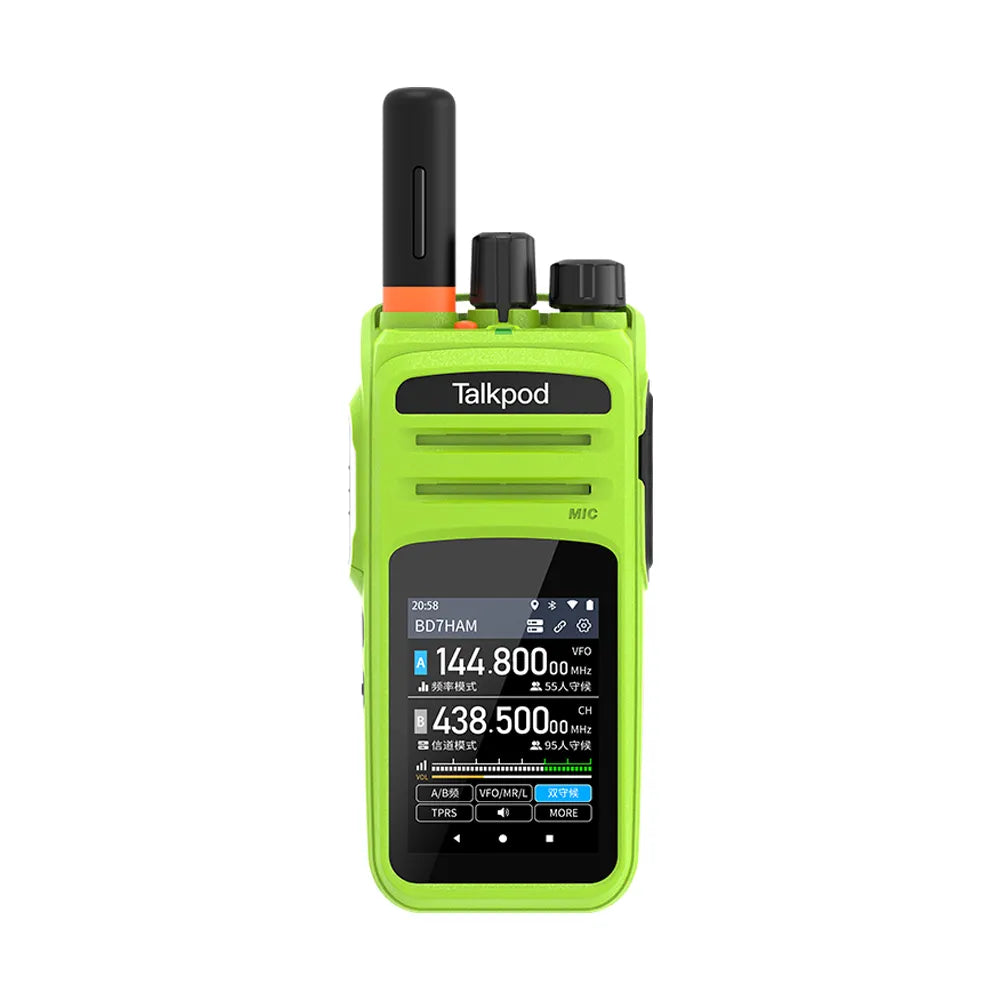
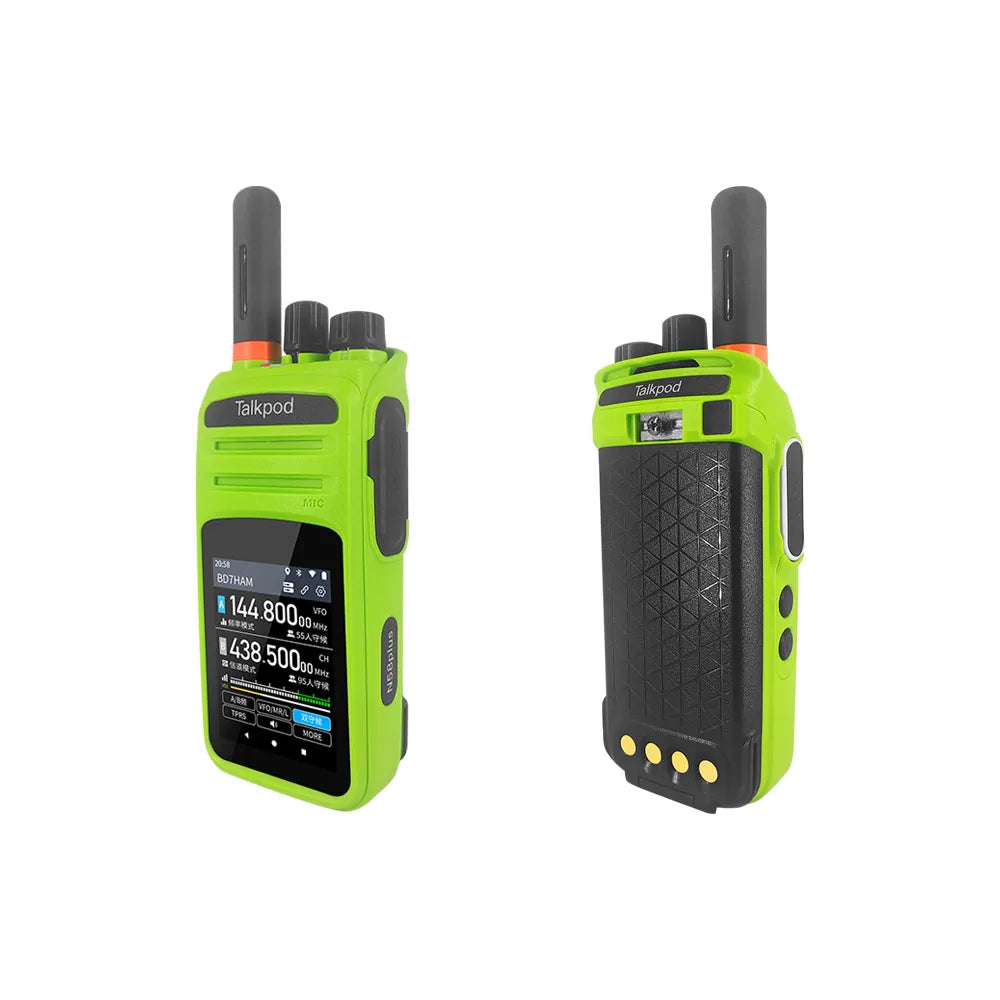
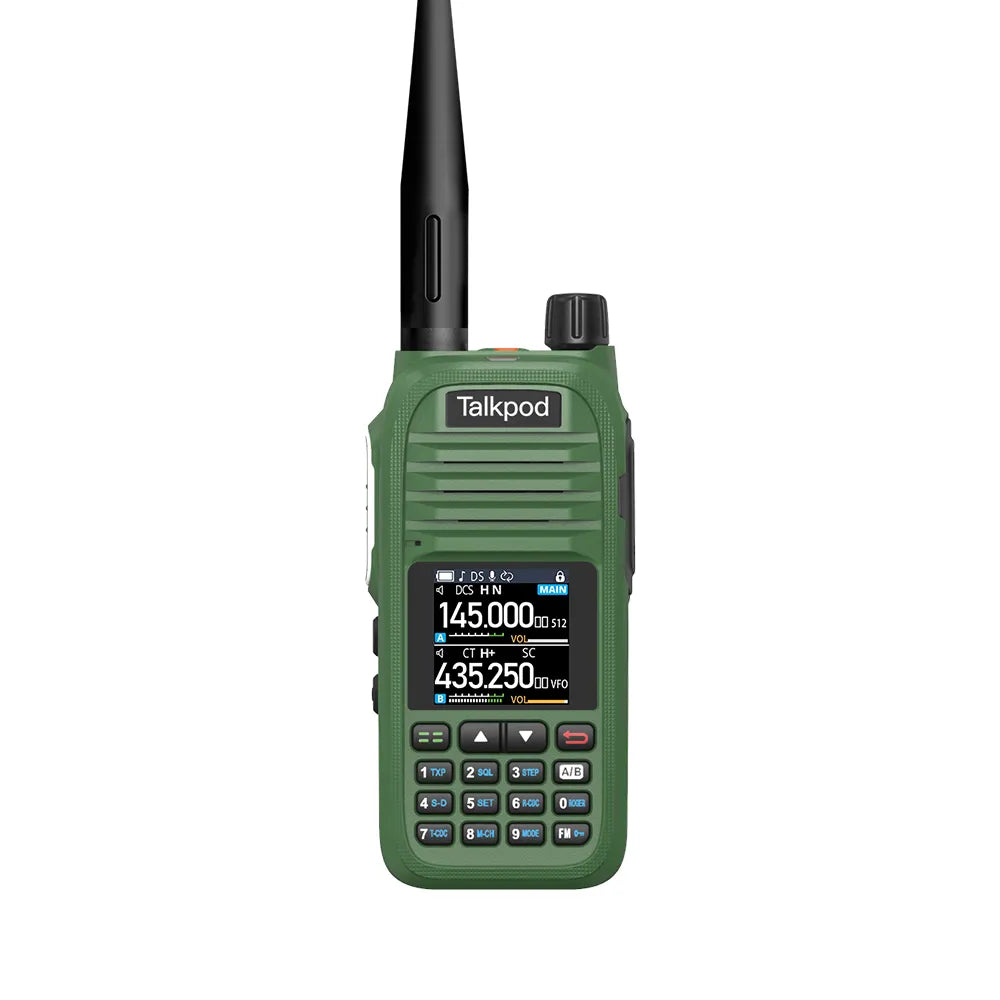
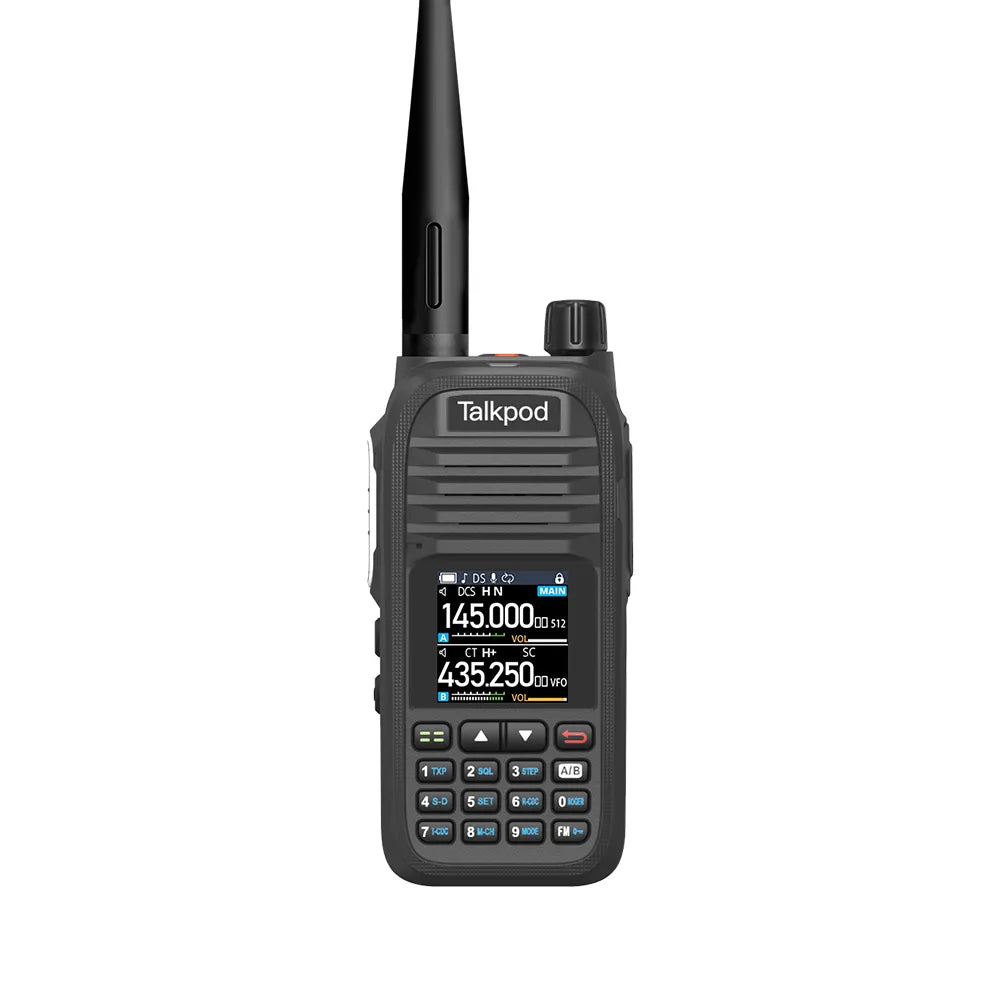
The Talkpod A36Plus MAX can be programmed with CHIRP, making it easier to manage multiple channels without entering every setting manually from the radio keypad.
In this guide, the Talkpod Team will walk you through how to connect your A36Plus MAX to CHIRP, read the existing radio configuration, edit channels, and upload the updated settings back to the radio.
What You Will Need
Before getting started, prepare the following:
- Talkpod A36Plus MAX
- Compatible K-Head USB programming cable
- Windows, macOS, or Linux computer
- Latest version of CHIRP
- Frequencies and repeater information you want to program
We recommend using the latest version of CHIRP.
Important: Download From the Radio First
Before changing any frequencies or settings, always read the existing configuration from your A36Plus MAX first.
Website: https://chirpmyradio.com/projects/chirp/wiki/Home#google_vignette
The recommended programming workflow is:
Radio → Download to CHIRP → Save Backup → Edit → Upload to Radio
This creates a configuration file based on your actual radio and also allows you to save a backup before making any changes.
Avoid creating a completely new configuration and uploading it directly to the radio.

Step 1: Connect Your Radio to the Computer
First, prepare a K-Head Programming Cable (USB Programming Cable) to connect your Talkpod A36Plus MAX to your computer.
Connect the devices in the following order:
Radio → Programming Cable → Computer USB Port
Make sure the K-head connector is fully inserted into the radio's programming ports.
A loose connection may prevent CHIRP from communicating with the radio correctly.
After connecting the cable, turn on the A36Plus MAX and open CHIRP on your computer.

How to Check the COM Port Number
If CHIRP cannot detect or communicate with your radio, you may need to confirm which COM port has been assigned to the programming cable.
Windows 10 / Windows 11
- Click Start.
- Open Settings.
- Select Bluetooth & devices.
- Open Device Manager.
- Expand Ports (COM & LPT).
You should see the programming cable listed with a COM port number, for example:
USB-SERIAL CH340 (COM3)
The exact COM number may be different on your computer.
Remember this COM port because you will need to select the same port in CHIRP.

If No COM Port Appears
If no COM port is displayed, try the following:
- Check that the programming cable is securely connected.
- Try another USB port.
- Make sure the correct USB serial driver for your programming cable is installed.
- Reinstall or update the USB serial driver if necessary.
- Restart your computer after installing the driver.
Once the COM port appears correctly in Device Manager, return to CHIRP.

Step 2: Download the Radio Configuration
Open CHIRP.
From the top menu, select:
Radio → Download From Radio
A connection window will appear.
Select:
Port: Select the COM port assigned to your programming cable
Vendor: Talkpod
Model: A36plus_8w
Then click OK.
CHIRP will begin reading the current configuration from your A36Plus MAX.
Do not disconnect the programming cable or turn off the radio while the data is being transferred.
Once the download is complete, the existing memory channels from your radio will appear in the CHIRP memory editor.

Step 3: Save a Backup
Before editing any channels, we strongly recommend saving a copy of the original configuration.
Go to:
File → Save As
Give the file a recognizable name, for example:
A36PlusMAX_Original_Backup
Keeping an original backup makes it much easier to restore your previous settings if necessary.

Step 4: Understanding the CHIRP Channel Settings
Each row in CHIRP represents one memory channel.
For most users, the following columns are the most important.
Loc
Loc refers to the memory channel number.
For example:
1, 2, 3, 4...
Frequency
This is normally the channel's receive frequency.
For example:
146.520 MHz
For simplex communication, transmit and receive normally use the same frequency.
Name
The Name field allows you to give the channel a recognizable name.
Examples:
CALL
LOCAL
RPT1
CLUB
Clear channel names make it easier to identify memories directly from the radio.
Tone Mode
Tone Mode determines how CTCSS or DCS signaling is used.
Common options include:
None
No CTCSS or DCS tone is used.
Tone
The radio transmits a CTCSS tone.
This is commonly used when accessing amateur radio repeaters.
TSQL
CTCSS is used for both transmit and receive squelch.
DTCS
A DCS code is used.
Tone
When Tone Mode = Tone, enter the CTCSS tone required by the repeater.
For example:
123.0 Hz
ToneSql
This field is normally used when:
Tone Mode = TSQL
It determines the CTCSS receive squelch tone.
DTCS Code
If the repeater or radio system uses DCS, select:
Tone Mode → DTCS
Then enter the required DCS code.
Duplex
The Duplex setting determines the relationship between the receive and transmit frequencies.
None
Transmit and receive on the same frequency.
Normally used for simplex communication.
+
The transmit frequency is higher than the receive frequency by the programmed offset.
-
The transmit frequency is lower than the receive frequency by the programmed offset.
off
Transmission is disabled for that channel when supported.
This can be useful for receive-only monitoring channels.
Offset
Offset determines the difference between the receive and transmit frequencies when using a repeater.
For example:
0.600 MHz
If the receive frequency is:
146.940 MHz
and Duplex is:
-
the radio will transmit on:
146.340 MHz
Mode
For normal analog channels, you will generally use:
FM
or
NFM
Use the bandwidth required by the system or repeater you are programming.
Power
The Power setting determines the transmit power used on that memory channel.
Use the appropriate power level for your operating conditions and local regulations.
Skip
The Skip setting determines whether a channel is included during scanning.
A channel marked to skip will normally be ignored during memory scanning.
Step 5: Programming a Simplex Channel
Let's use 146.520 MHz as an example.
The CHIRP settings could look like this:
| Setting | Value |
|---|---|
| Frequency | 146.520 |
| Name | CALL |
| Tone Mode | None |
| Duplex | None |
| Offset | 0.000 |
| Mode | FM |
| Power | As required |
Because this is a simplex channel, transmit and receive use the same frequency.
No repeater offset is required.
Step 6: Programming a Repeater
Now let's look at a repeater example.
Assume the repeater uses:
Receive Frequency: 146.940 MHz
Offset: -0.600 MHz
CTCSS: 123.0 Hz
The CHIRP settings would be:
| Setting | Value |
| Frequency | 146.940 |
| Name | RPT1 |
| Tone Mode | Tone |
| Tone | 123.0 |
| Duplex | - |
| Offset | 0.600 |
| Mode | FM |
| Power | As required |
The A36Plus MAX will receive on:
146.940 MHz
and transmit on:
146.340 MHz
with a:
123.0 Hz CTCSS tone
This is only an example. Always verify the correct repeater frequency, offset, and tone for your local system.
Step 7: Add or Edit More Channels
Continue entering the frequencies and settings you need into additional rows.
You may organize your channels into groups such as:
- Local simplex channels
- Local repeaters
- Amateur radio club repeaters
- Calling frequencies
- Receive-only monitoring channels
Using clear channel names will make the radio easier to operate after programming.
Step 8: Upload the Configuration to the A36Plus MAX
After checking all of your channel settings, you can upload the configuration back to the radio.
Select:
Radio → Upload To Radio
Confirm the correct COM port and begin the upload.
While the upload is in progress, do not:
- Disconnect the programming cable
- Turn off the radio
- Remove the battery
- Close CHIRP
Wait until CHIRP confirms that the transfer has completed.
Step 9: Restart and Check Your Radio
After the upload is complete:
- Disconnect the programming cable.
- Restart the A36Plus MAX.
- Switch to Channel Mode.
- Check the programmed channels.
- Confirm the channel names and frequencies.
- Check repeater offsets and CTCSS/DCS settings.
- Perform a radio check where legally permitted.
If you programmed a repeater, verify that the correct frequency, offset direction, offset value, and access tone have all been entered.
Importing Channels from a CSV File
CHIRP also allows users to import channel information from CSV files.
However, a CSV file should not normally be treated as a complete radio configuration.
The recommended process is:
- Download the configuration from your A36Plus MAX.
- Save a backup.
- Open or import the CSV file in CHIRP.
- Copy the required channels into the downloaded A36Plus MAX configuration.
- Review the channel settings.
- Upload the configuration back to the radio.
This helps ensure that the channel data remains compatible with your radio.
Troubleshooting
CHIRP Cannot Communicate with the Radio
If CHIRP reports a communication error, check:
- Is the radio turned on?
- Is the K-head connector fully inserted?
- Is the correct COM port selected?
- Is the programming cable driver installed?
- Is Talkpod → A36plus_8w selected?
- Is another program using the same COM port?
You can also disconnect and reconnect the programming cable before trying again.
No COM Port Appears
Open:
Device Manager → Ports (COM & LPT)
If the programming cable does not appear:
- Try another USB port.
- Reconnect the cable.
- Install or reinstall the appropriate USB serial driver.
- Restart the computer.
CHIRP Can Read the Radio but Cannot Upload
Make sure you are editing the radio configuration that was originally downloaded from your A36Plus MAX.
If you are working with a CSV file, copy or import the channels into the downloaded radio configuration before uploading.
Repeater Does Not Work After Programming
Check the following settings carefully:
Receive Frequency
Duplex Direction
Offset
CTCSS/DCS Tone
For example, entering the correct repeater frequency but using the wrong offset direction will prevent the radio from transmitting on the correct repeater input frequency.
Programming Tips
Always Save a Backup
Before making major changes, save the original configuration downloaded from the radio.
Check Repeater Information Carefully
For repeater operation, confirm:
Frequency + Duplex + Offset + CTCSS/DCS
All four settings must be correct.
Use Receive-Only Channels When Appropriate
If you are programming a frequency that you are not authorized to transmit on, configure it as receive-only whenever supported.
Follow Local Regulations
CHIRP allows users to enter many different frequencies, but programming a frequency into the radio does not automatically mean you are authorized to transmit on it.
Only transmit on frequencies and radio services that you are legally authorized to use.
Program Your A36Plus MAX More Efficiently
Programming directly from the radio keypad is useful for quick changes in the field, but CHIRP provides a much faster way to manage larger channel lists.
With CHIRP, A36Plus MAX users can organize:
- Frequencies
- Repeater offsets
- CTCSS/DCS tones
- Channel names
- Scan settings
- Power levels
- Other commonly used channel parameters
The basic workflow is:
Connect → Download → Back Up → Edit → Upload → Test
Once you become familiar with these steps, managing your Talkpod A36Plus MAX channel configuration becomes much easier.
For more A36Plus MAX programming guides, firmware information, and operating tutorials, please visit the Talkpod Support Center.
Talkpod Team


Leave a comment
All comments are moderated before being published.
This site is protected by hCaptcha and the hCaptcha Privacy Policy and Terms of Service apply.