
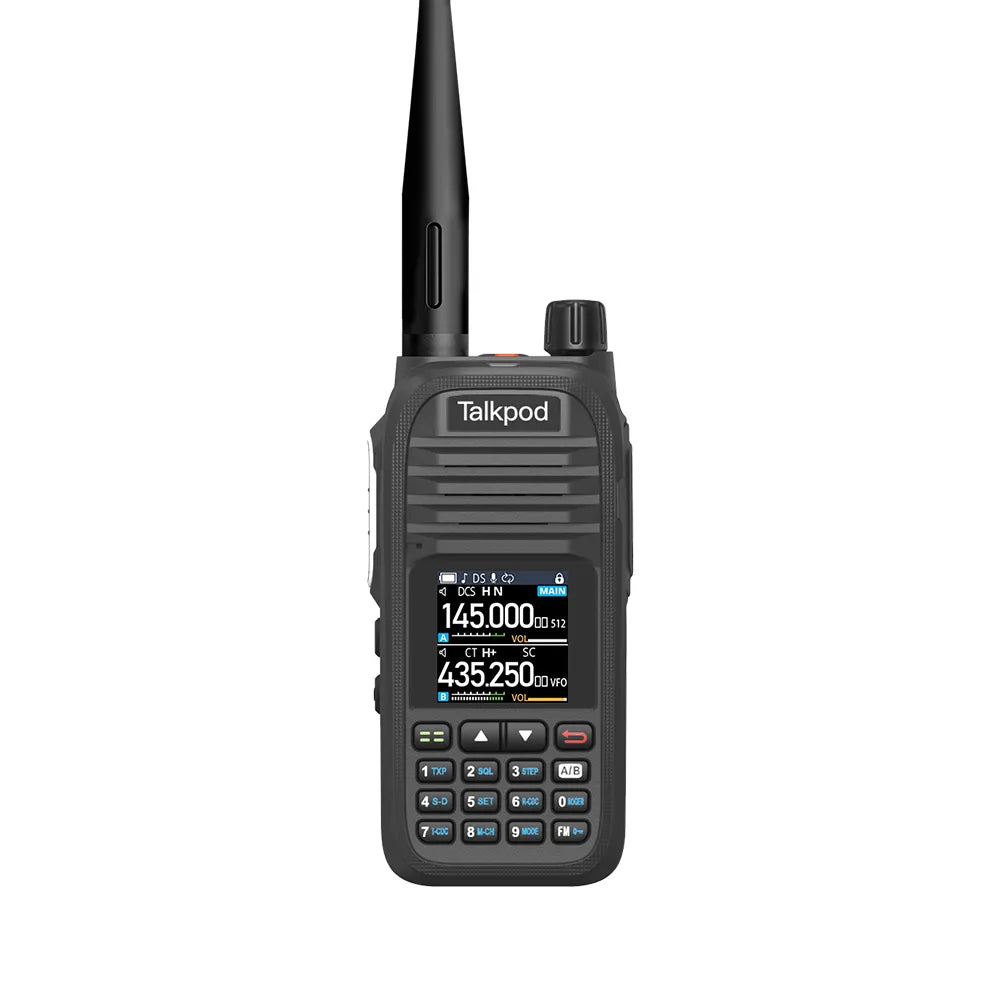
Hello everyone, I'm Roy from Talkpod, and today I'm excited to share with you a comprehensive guide on how to import the A36 Plus image into your Xuners UV37 and A37 devices. Follow along as we go through the steps one by one.
Step 1: Download Necessary Software First, you'll need to download two key packages from our website: the 'USB driver for TPC02 Programming Cable' and the 'A36plus EN Setup'. For your ease, we've added the direct link to these packages in the comments section below.

Step 2: Install the USB Driver Next, begin the installation of the USB driver for the TPC02 Programming Cable. It's important to note that this software only runs on Windows Systems. After launching the installation, click on the first button to kick off the update process. You'll then need to click “next” and allow your computer to restart.

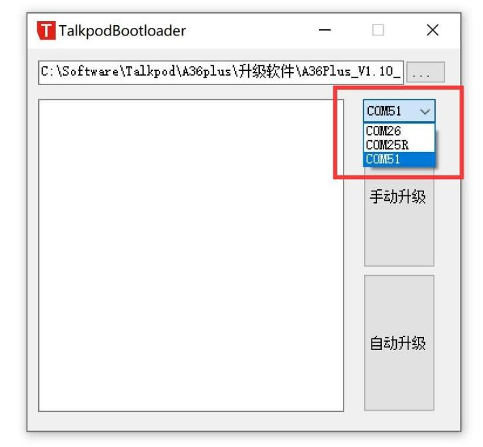
Step 3: Set Up the Communication Port Once your computer is back up, plug in the USB cable. You can find the USB to COM port number in the 'Ports' section of the Device Manager, which is under your Control Panel's 'System' properties. For the purpose of this guide, we'll use COM3 as an example. Now, set the communication port of your programming software to this USB to COM port number. After setting this up, your software should be able to communicate with the device via the USB data cable.

Here's a tip: The USB cable may correspond to a COM port number outside the COM2-COM4 range when plugged into a USB port. If this happens, don't worry. Simply try using a different USB port.

Step 4: Install the A36plus EN Setup After that, it's time to install the 'A36plus EN Setup'. Once you've installed it, you should be greeted with a specific screen (insert screen description here).

Step 5: Import the Image Connect your radio device to your computer using the USB cable provided by us. Then navigate to the 'tools' option to import the image. Do ensure that your image is a 128x128 bmp file. Finally, import the image to your radio and wait for the programming to complete.

That's it! By following these steps, you've successfully imported the A36 Plus image into your device.
We hope this guide proves helpful for you, and we're always here to support you on your journey. Stay tuned for more guides and tutorials from Talkpod! And as always, if you have any questions or run into any issues, don't hesitate to get in touch.
The link of firmware is HERE!: https://talkpodonline.com/pages/firmware-software

Leave a comment
All comments are moderated before being published.
This site is protected by hCaptcha and the hCaptcha Privacy Policy and Terms of Service apply.