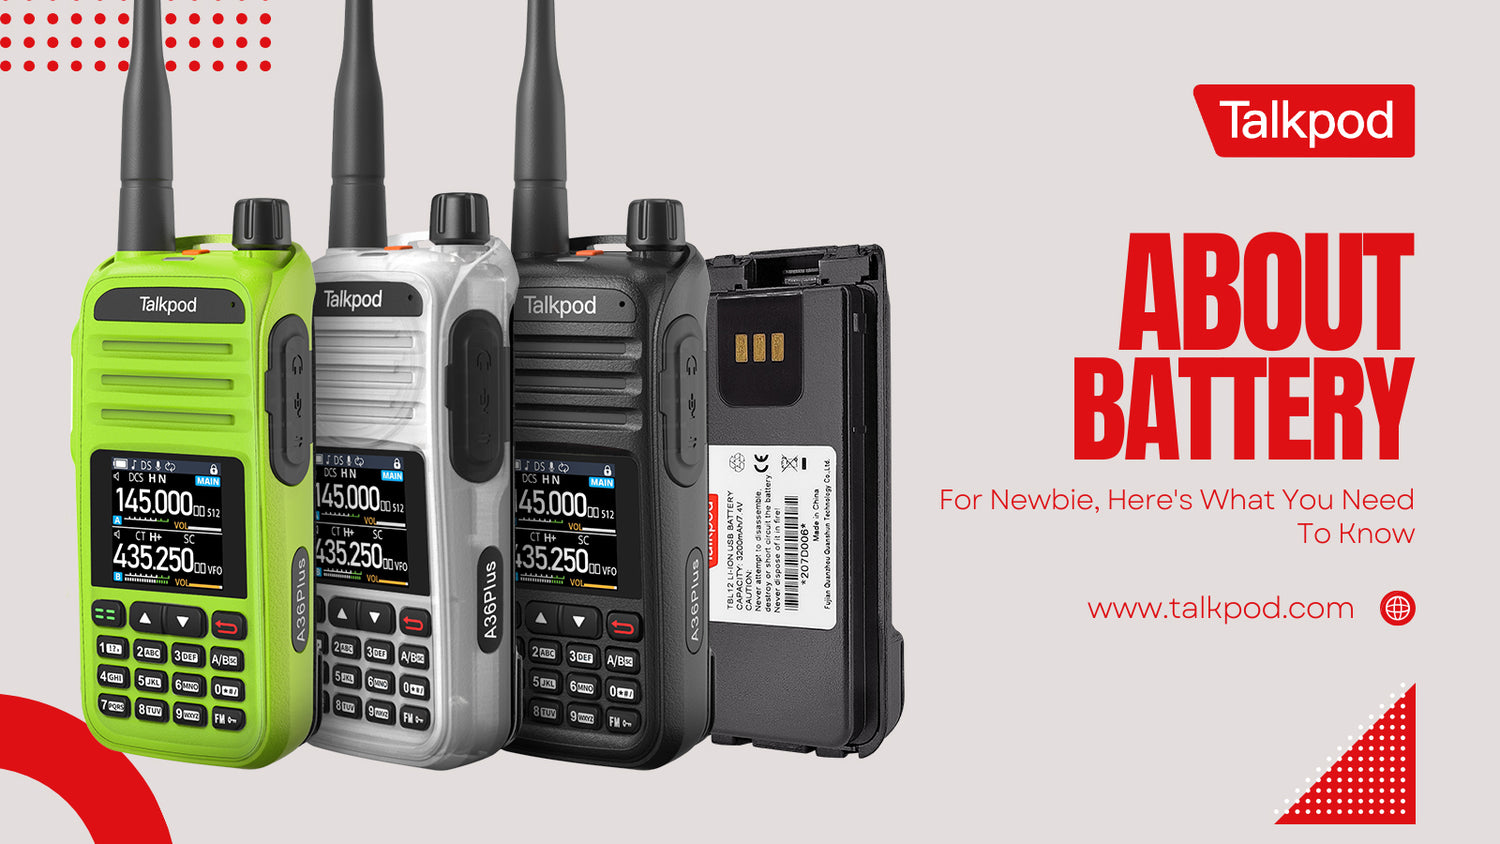
For all Talkpod radio users, it's crucial to know how to handle the power source that keeps you connected. Here's your comprehensive guide to managing your Talkpod battery effectively.
**Installing Your Battery**
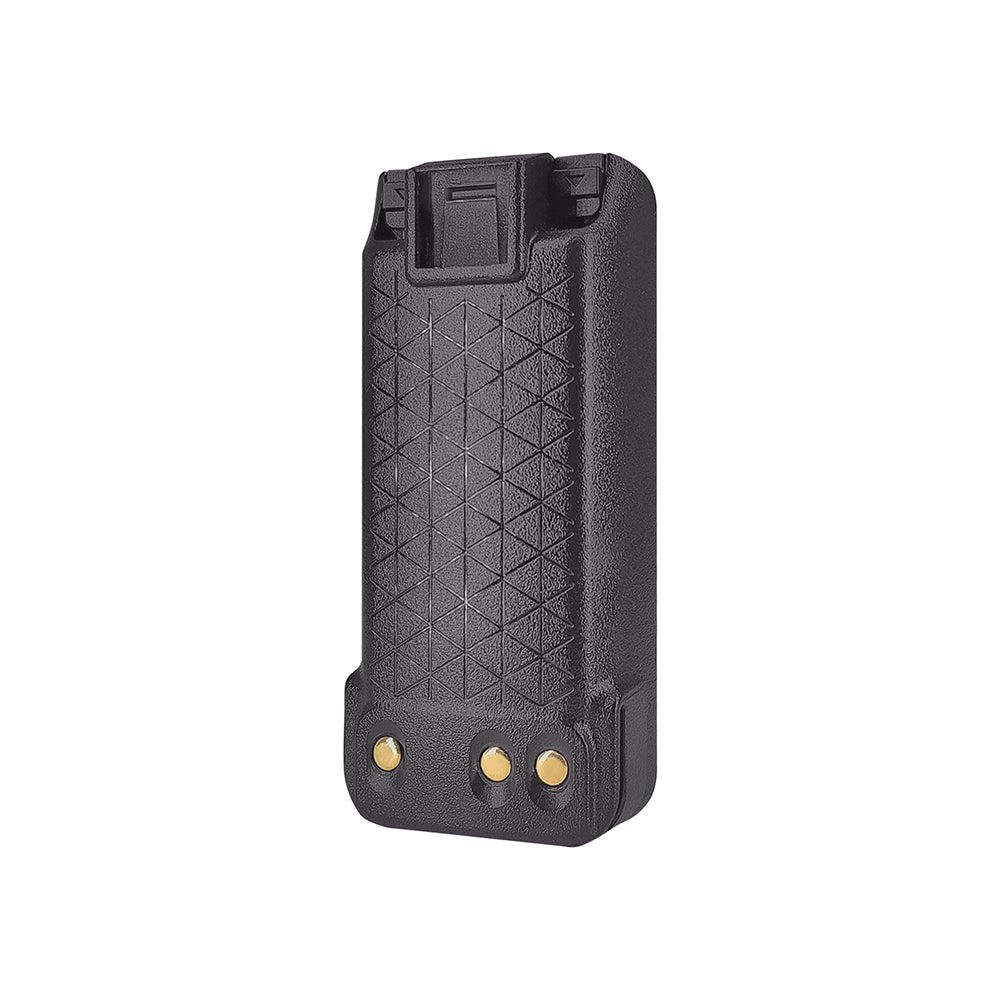
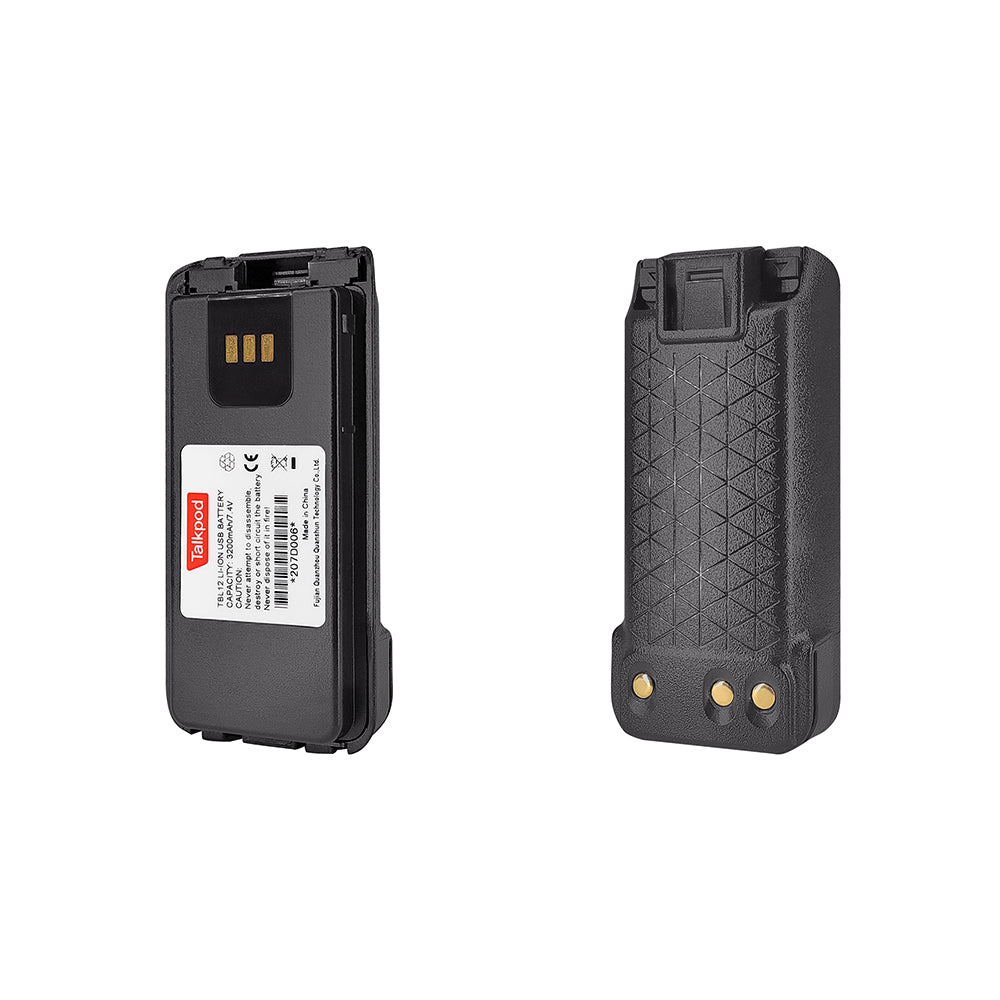
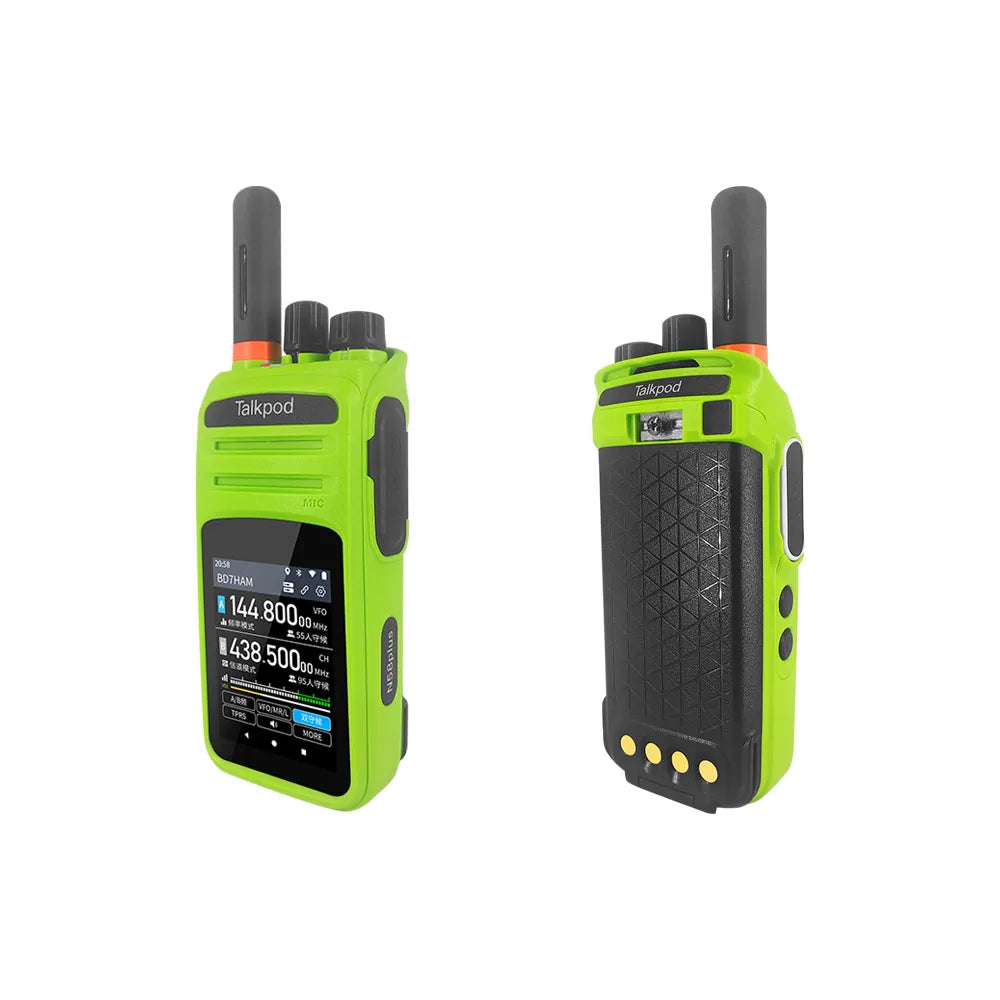
It's a simple process: align your battery with the small notches at the base of the radio casing. Gently press it towards the metal back until you hear a reassuring click on both sides. That sound signifies a successful battery installation.
**Removing Your Battery**
Look for the two tiny slides marked with arrow symbols at the top of the battery. Pressing them downwards simultaneously will release the battery, allowing you to remove it with ease.
**Charging Essentials**
Before you use your new or long-stored battery, give it a proper charge. A full charge cycle or two can significantly improve battery performance.
**Safety First!**
Remember, safety is paramount. Only charge your Talkpod batteries; off-brand alternatives could be hazardous. Also, keep the battery terminals away from metal objects like keys or jewelry to prevent short circuits.
**Charging Environment**
The ideal charging temperature is between 0°C to 40°C. Charging your battery outside these temperatures might result in less than optimal performance.
**Charging Protocol**
For the best charging experience, ensure the radio is turned off. It helps the battery to charge correctly without interruption. Throughout the charging process, try to keep the battery plugged in until the charge is complete to avoid disrupting the cycle.
**Battery Lifecycle**
Noticing a significant reduction in usage time after a full charge? It may be time to replace the battery. Also, avoid repeated charging of a fully charged battery as it could reduce its lifespan.
**Handling a Wet Battery**
Charging a damp battery is a no-go. If your battery or radio has been exposed to moisture, wipe it down with a dry cloth before charging to prevent any risk.
**Charging Steps**
1. Plug your charger into a standard outlet.
2. Position the battery or radio onto the charging base, or connect it to the USB charging cable.
3. Look for the red light indicator to ensure charging has begun.
4. When the light turns green after approximately 8 hours, you know your battery is fully charged and ready to go.
For a more detailed breakdown of these steps, check out our [latest article](#) on Talkpod's battery management. Stay charged and connected with Talkpod. *Enjoy Radio Time*!
**Installing Your Battery**
It's a simple process: align your battery with the small notches at the base of the radio casing. Gently press it towards the metal back until you hear a reassuring click on both sides. That sound signifies a successful battery installation.
**Removing Your Battery**
Look for the two tiny slides marked with arrow symbols at the top of the battery. Pressing them downwards simultaneously will release the battery, allowing you to remove it with ease.
**Charging Essentials**
Before you use your new or long-stored battery, give it a proper charge. A full charge cycle or two can significantly improve battery performance.
**Safety First!**
Remember, safety is paramount. Only charge your Talkpod batteries; off-brand alternatives could be hazardous. Also, keep the battery terminals away from metal objects like keys or jewelry to prevent short circuits.
**Charging Environment**
The ideal charging temperature is between 0°C to 40°C. Charging your battery outside these temperatures might result in less than optimal performance.
**Charging Protocol**
For the best charging experience, ensure the radio is turned off. It helps the battery to charge correctly without interruption. Throughout the charging process, try to keep the battery plugged in until the charge is complete to avoid disrupting the cycle.
**Battery Lifecycle**
Noticing a significant reduction in usage time after a full charge? It may be time to replace the battery. Also, avoid repeated charging of a fully charged battery as it could reduce its lifespan.
**Handling a Wet Battery**
Charging a damp battery is a no-go. If your battery or radio has been exposed to moisture, wipe it down with a dry cloth before charging to prevent any risk.
**Charging Steps**
1. Plug your charger into a standard outlet.
2. Position the battery or radio onto the charging base, or connect it to the USB charging cable.
3. Look for the red light indicator to ensure charging has begun.
4. When the light turns green after approximately 8 hours, you know your battery is fully charged and ready to go.
For a more detailed breakdown of these steps, check out our [latest article](#) on Talkpod's battery management. Stay charged and connected with Talkpod. *Enjoy Radio Time*!

Leave a comment
All comments are moderated before being published.
This site is protected by hCaptcha and the hCaptcha Privacy Policy and Terms of Service apply.